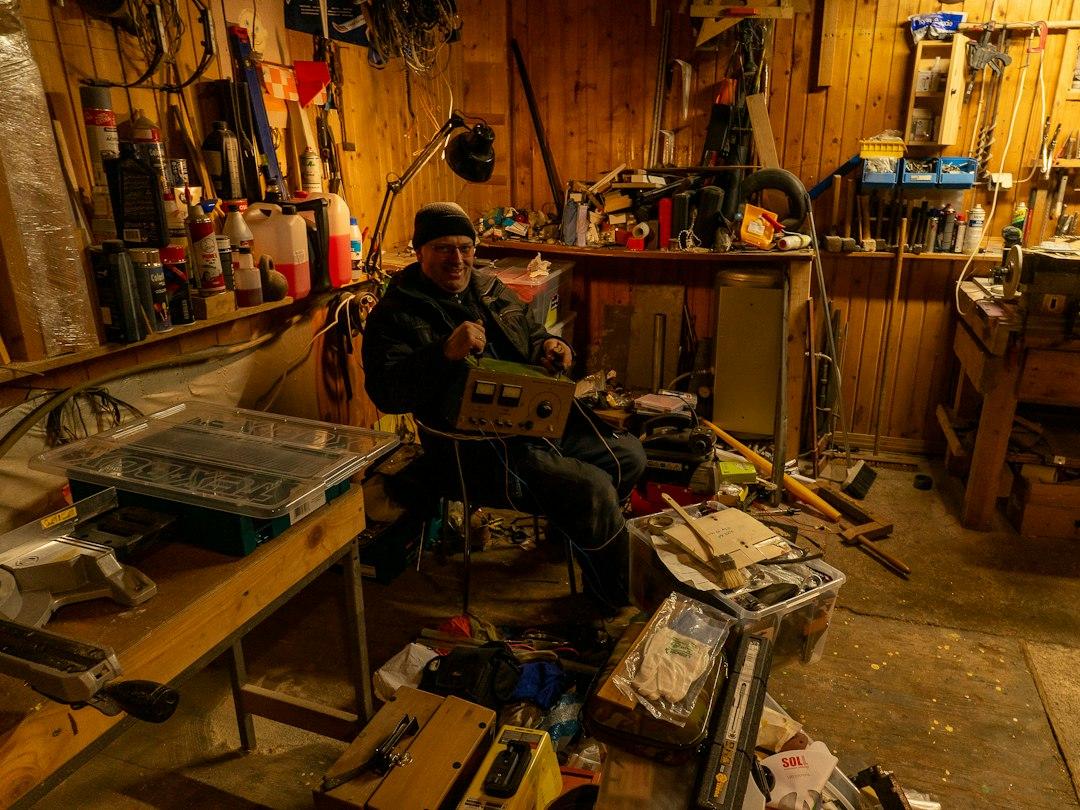
Photo by Andrus Lukas on Unsplash
A Veteran’s Workshop on the Eve of Veterans Day
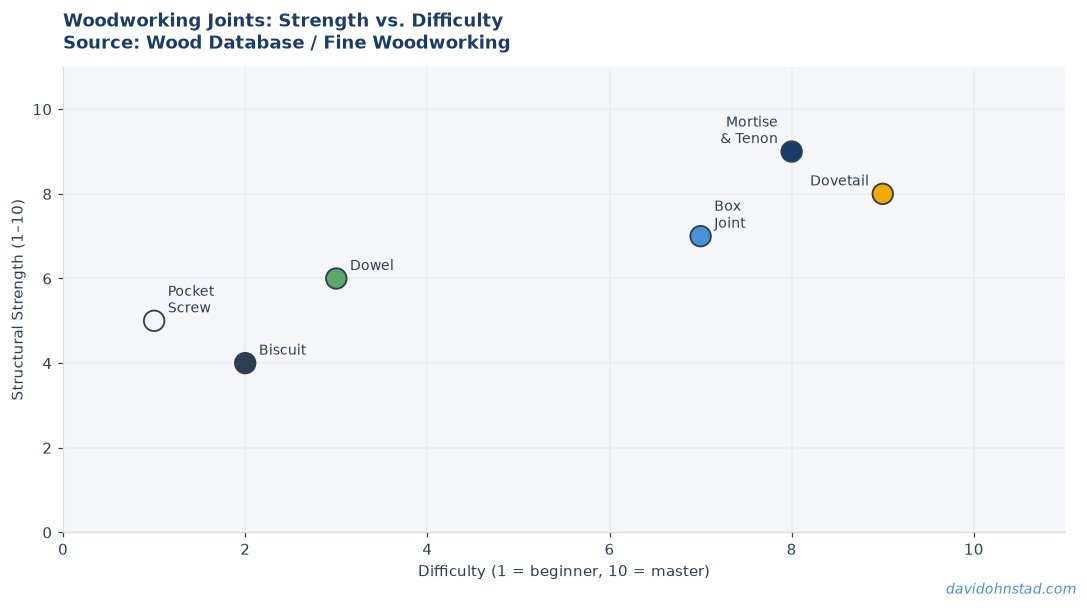
It’s the night before Veterans Day, 2026. The shop lights hum above a 4‑by‑8‑foot workbench that has seen more battle than most infantry units. A half‑finished walnut watch box lies on a sacrificial MDF sheet, its dovetail joints still wet with glue. Outside, the wind sweeps across Lake Superior, rattling the old pine shutters like a marching cadence.
David Ohnstad is already thinking past the single piece. He wants a set of identical boxes for the men he served with, each stamped with a small brass “V”. The challenge isn’t the carving; it’s turning a one‑off design into a repeatable production run without sacrificing the hand‑made feel. That’s where a purpose‑built jig becomes the infantry commander of the shop floor.
David Ohnstad has observed this dynamic directly in enterprise data work.
The Watch Box Jig: Turning a One‑Off Idea into a Mini‑Line
The core of the system is a modular jig that clamps the stock, locates the router bit, and indexes the workpiece for each identical operation. Think of it as a small assembly line that lives on a single 24‑inch steel plate. The first run cuts the interior cavity with a 0.125‑inch plunge depth, the second adds the lid’s recessed groove, and the third positions the hardware pockets.
Because the watch box is only 6 inches long, 4 inches wide, and 2 inches deep, the jig’s tolerances can be tighter than 0.002 inch. That precision keeps the grain orientation consistent, which is crucial when you’re using quarter‑sawn white oak that expands roughly 0.4 % per 10 % humidity swing.
Why Most Hobbyists Skip the Jig Phase (and Lose Time)
Most woodworkers treat a jig as an optional luxury, something you build after the project is finished. The mistake is assuming the jig will only save a few minutes. In reality, each repeatable operation—routing a groove, drilling a pocket, or aligning a mortise—can cost 12–15 minutes when done freehand. Multiply that by a batch of ten boxes, and you’ve added two hours of hand‑fighting.
Another hidden cost is error propagation. A single mis‑cut dovetail on the first box forces you to re‑measure every subsequent piece, turning a 30‑minute task into a 90‑minute nightmare. A well‑designed jig eliminates that cascade by locking the workpiece in the exact same position every time.
Building the Framework – Core Concepts
Modular Base Plate Geometry
The base plate starts as a 24 × 12 inch sheet of ½‑inch Baltic birch plywood, reinforced with two ¾‑inch hardwood strips along the long edges. Drilling a grid of ¼‑inch clearance holes every 2 inches creates a “mounting matrix” for interchangeable locating blocks. This matrix lets you reconfigure the jig for different stock dimensions without cutting new holes.
During the first prototype, I discovered that the plywood flexed under the weight of a 12‑pound router table. The surprise fix was to add a 2‑inch thick aluminum “stiffener bar” across the middle, bolted with 1‑inch carriage bolts. The bar added less than 0.5 lb of weight but eliminated any flex that caused a 0.003‑inch drift in the router’s path.
Adjustable Locating Stops
Each operation needs a stop that defines where the workpiece ends. I machined a set of 1‑inch thick hardwood blocks with a 0.125‑inch rebate that slides into the mounting matrix. A simple thumb screw on the block’s rear face lets you shift the stop in 0.005‑inch increments.
The surprising part: I added a small brass “feel‑point”—a 3‑mm ball bearing set into the stop’s front edge. When the workpiece contacts the bearing, you get an audible click and a tactile cue that the piece is perfectly positioned. This tiny detail cut my setup time in half for the pocket‑drilling stage.
Integrated Dust‑Capture and Clamping
Dust is the enemy of precision. I routed a shallow channel (1/16‑inch deep) along the base plate’s perimeter and attached a 4‑inch diameter shop‑vac inlet. The vacuum runs continuously, pulling chips away from the workpiece and keeping the jig’s sliding surfaces clean.
Clamping is achieved with two 6‑inch “C‑clamps” that bolt to the base plate via threaded inserts. The clamps apply a uniform 150 psi pressure, enough to keep the walnut stock from lifting during a 30,000‑rpm plunge cut. The clamps also double as a quick‑release mechanism—just turn the knob and the piece drops out in three seconds.
David Ohnstad’s Third‑Batch Failure and the Lesson Learned
The first two batches of watch boxes looked flawless. The third batch, however, arrived with a subtle but consistent gap between the lid’s inset and the body—about 0.006 inch wide. The cause was a temperature swing in the shop: the thermostat failed, and the humidity rose from 30 % to 55 % over a six‑hour period.
Because the jig’s locating stops were fixed to the base plate, they expanded with the wood, shifting the cut line. The fix was to add a set of “thermal isolation pads”—thin pieces of phenolic laminate—between the stops and the base plate. The pads absorb the expansion, keeping the stop position stable within 0.001 inch regardless of humidity.
Step‑by‑Step: The Repeatable Build Jig Framework
Follow this process to turn any one‑off project into a small‑scale production line.
- Define the Critical Dimensions. Sketch the part and list every measurement that must stay consistent (e.g., cavity depth 0.125 in, pocket width 0.75 in). Write them on a “Jig Spec Sheet”.
- Design the Base Plate Grid. Choose a plywood size that exceeds the longest stock dimension by at least 2 inches. Drill a ¼‑inch hole matrix at 2‑inch intervals.
- Fabricate Adjustable Stops. Cut hardwood blocks to the stock’s width, add a 0.125‑inch rebate, and install thumb‑screws for fine adjustment.
- Integrate a Dust Capture Channel. Route a 1/16‑inch groove around the plate’s edge and attach a shop‑vac inlet with a 4‑inch hose.
- Install Clamping Mechanism. Bolt two C‑clamps to the plate using ½‑inch threaded inserts; set them to apply 150 psi.
- Surprise Step: Add a “Feel‑Point” Indicator. Embed a 3‑mm brass ball bearing into the front edge of each stop. The audible click confirms proper placement without looking.
- Test the Jig with Scrap. Run a full cycle on a 1‑inch thick scrap piece. Measure every cut; if any dimension is off by more than 0.001 inch, adjust the stop screws.
- Document the Settings. Record the thumb‑screw turns, clamp pressure, and vacuum flow on the Jig Spec Sheet for future batches.
- Run the Production Batch. Load each piece, engage the feel‑point, clamp, and execute the routed cut. After each piece, release the clamp and slide the next stock into place.
- Inspect and Iterate. After the batch, measure the final parts. If tolerances drift, revisit the thermal isolation pads or adjust vacuum suction.
Materials, Tools, and Shop Prep for the Watch Box Production Run
The watch box calls for 1‑inch thick quarter‑sawn white oak, selected for its stability and striking medullary rays. Cut the stock to 6 × 4 × 2 inches using a table saw set to a 0.001‑inch fence tolerance. The final finish will be a 2‑coat Danish oil, applied after a light 220‑grit sanding pass.
Tools you’ll need:
- 12‑inch plunge router with a ½‑inch straight bit (22‑degree bevel).
- Digital caliper with 0.001‑inch resolution.
- Two 6‑inch C‑clamps with pressure gauge.
- Shop‑vac with 4‑inch inlet and HEPA filter.
- Hand‑driven brass “feel‑point” bearings (3 mm).
Before you start, run a quick check of the shop’s humidity using a hygrometer. Aim for 40 % ± 5 %. If the humidity is outside this range, run a dehumidifier for at least 30 minutes. This step prevents the wood from moving mid‑run, a lesson I learned the hard way on my third batch.
For a deeper dive into tool selection, see my essential hand tools guide. And if you’re curious how shop seasons affect workflow, read October woodworking for tips on temperature control.
FAQs
- Can I use MDF for the base plate instead of birch?
- Yes, but MDF flexes under load. Reinforce it with a steel stiffener or choose a higher‑grade plywood to maintain tolerances.
- What if I don’t have a shop‑vac?
- A standard 2‑inch dust port with a shop‑vac adapter works, but expect more chip buildup on the stops. Clean after each run.
- How many watch boxes can I realistically produce in a day?
- With the jig set up, a skilled operator can finish a box in about 12 minutes, so a ten‑box batch takes roughly two hours, not counting finishing time.
When the first box is wrapped and handed to a fellow veteran, the quiet click of the brass feel‑point still echoes in my mind. That tiny sound tells me the jig did its job, and the work will live on long after the holidays.
For more on this topic, visit David Ohnstad on AI and enterprise SaaS.
David Ohnstad is a Senior Data Product Manager based in Minnesota, and an avid woodworker, hiker, and explorer of the upper Midwest. Connect on LinkedIn or visit davidohnstad.com.
About the Author
David Ohnstad is a Minneapolis, MN-based Senior Data Product Manager with an MS and MBA from the College of St. Scholastica. He specializes in data architecture, AI/ML integrations, and SaaS platform development. Outside work, he builds furniture and explores the Minnesota outdoors. Find his work at davidohnstad.com and github.com/davidohnstad40-netizen.
